Orpington obsession
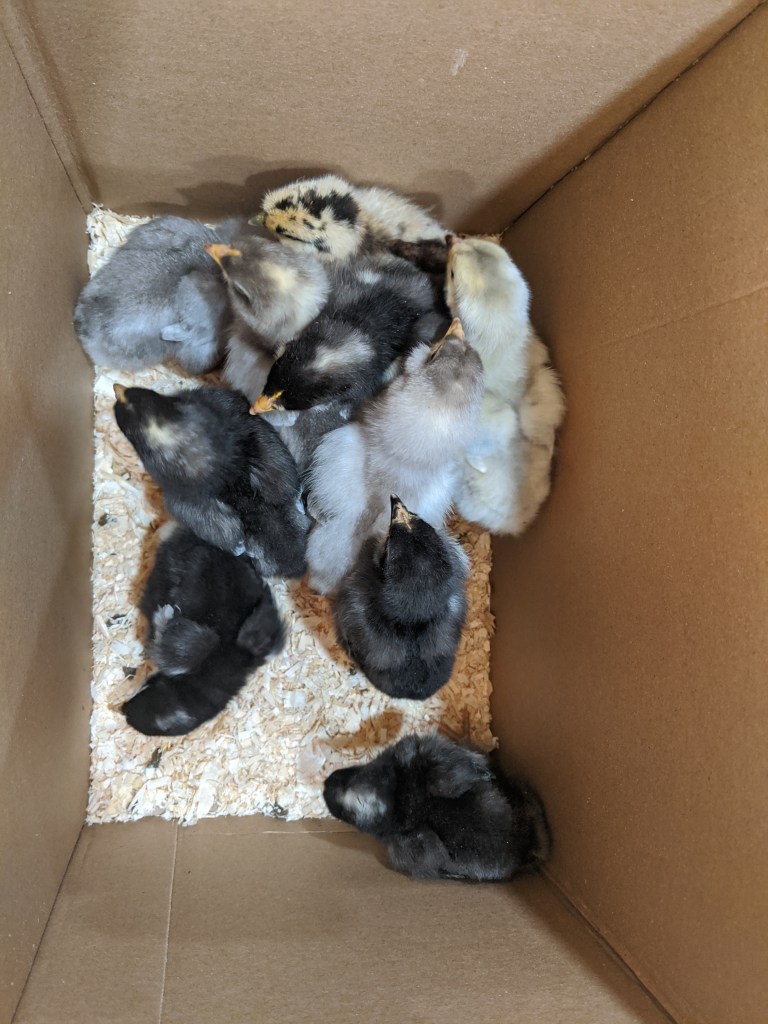
We always knew we were going to have chickens on our 18 acre farm. My partner’s previous experience with keeping laying hens was very valuable as we knew there was a difference between types (meat/ laying/ multipurpose) and general breed personality. His slate and buff Orpingtons had always been the sweetest and calmest birds so they became my favorite. We were able to get a mix of different types of Orpington chicks and hatching eggs to start our flock.
May 3
We started with 10 chicks that were approximately a week old. They are a mix of Lavender and Cuckoo Orpington as well as one Silkie (different breed). We ended up with the Silkie because the seller didn’t want to have only one chick to try and rehome. Silkie breed chickens grow up to be very fluffy and are known to be broody, this means if the chick turns out to be a pullet (female chicken or hen) that we may be able to use her to hatch eggs rather then an incubator. We also received 36 fertilized eggs from her to put in our incubator that were a mix of Lavender and Cuckoo Orpington as well as 6 Orpington crosses that were in a green shell (Orpingtons normally have brown eggs so it was half Easter Egger or “EE” of some sort). I turned the incubator on to let it warm up for a day before we started the eggs. Hatch eggs can be stored for a few days before putting them in an incubator. I propped up one side of the cartons and switched the propped up side every 12 hours until they went in the incubator. I also bought a reptile thermometer and hygrometer as the one that came with our incubator unit was known to be unreliable.
May 4
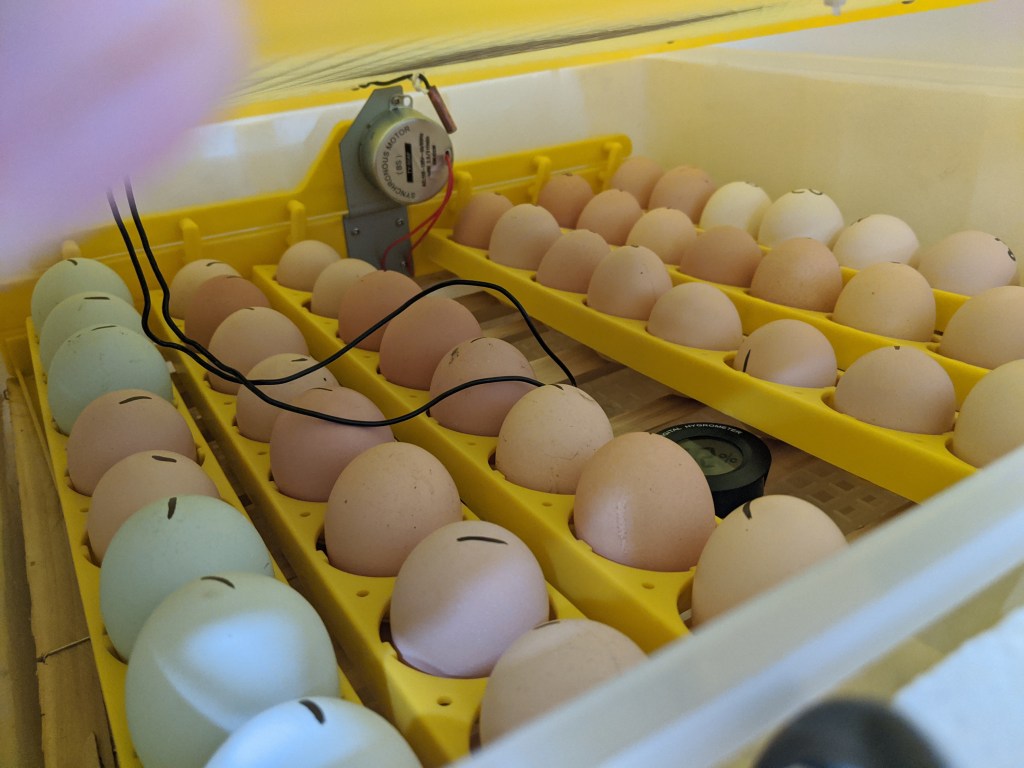
It was very important to remember when. Placing the egg in the incubator to put the pointy end down.
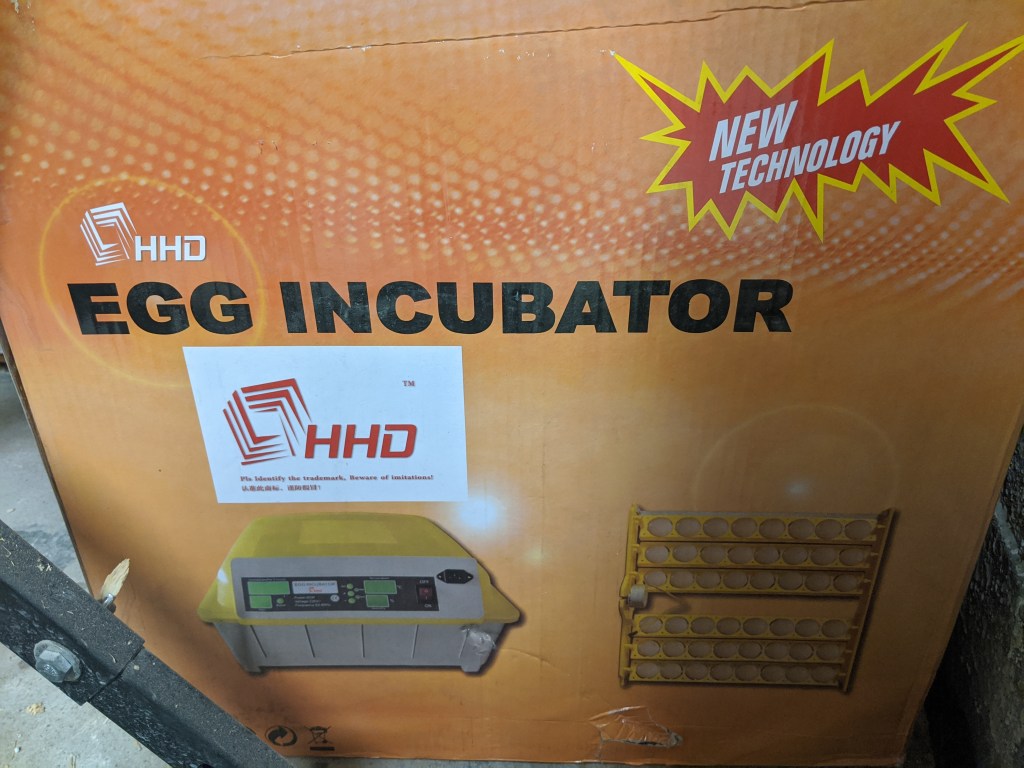
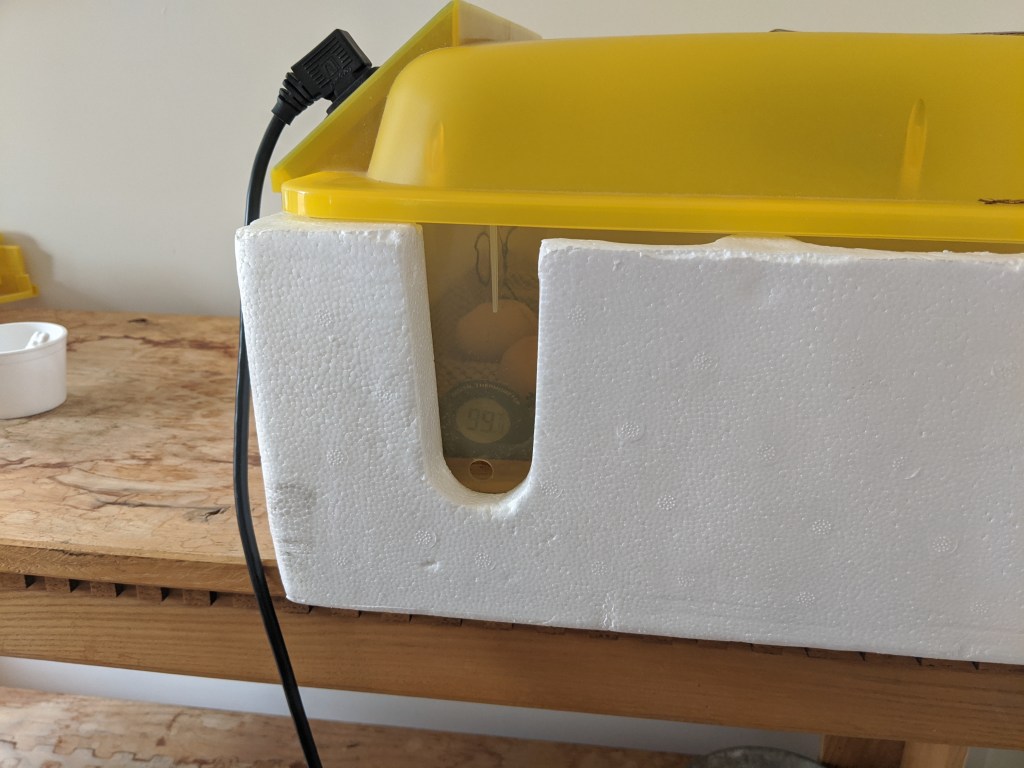
I picked up a dozen Lavender Orpington hatching eggs from one local source I found through Kijiji and an additional 10 eggs from another source I found through Facebook. Facebook chicken groups have turned out to be an amazing resource for both information and supplies. Of those 10 eggs 5 were Chocolate Orpingtons and 5 were Mottled Orpingtons. Once I got all the eggs home I had to inspect them an choose which I would put in the incubator and which didn’t make the cut. We have a 48 HHD egg incubator from China with an egg turner. It had only been used once and resulted in a poor hatch rate (25-30%). The temperature reading on the machine seemed about 1° off from the backup reptile thermometer I had placed inside. The humidity reading between the machine and the backup were very very different (machine was 20% off) so I went by the reptile thermometer I had placed inside the incubator. For the duration of the incubation process I kept the incubator in the bottom styrofoam packing and made sure the side vent hole lined up with the opening on one side of the styrofoam. This was to try and help maintain an even temperature Throughout the process as the heating coils on this system are not the best and can fluctuate considerably. Throughout the incubation I would use a syringe to add water through this hole if the humidity got too low (tried to keep it between 40-50% for the first 18 days).
May 14
Once the eggs were 10 days old we could “Candle” them to check if anything was growing inside. I watched a few YouTube videos on the process and we got everything setup beforehand. We went through the eggs as quickly as we could so they didn’t get cold. Of the 48 eggs we had started with we found that 3-4 of them had either not been fertilized or had failed to develop so we tossed those out.
Our week old chicks were now 3 weeks old and had started to feather out. I gave them names and we began to guess which may be pullets (hens) and which may be cockrells (roosters).
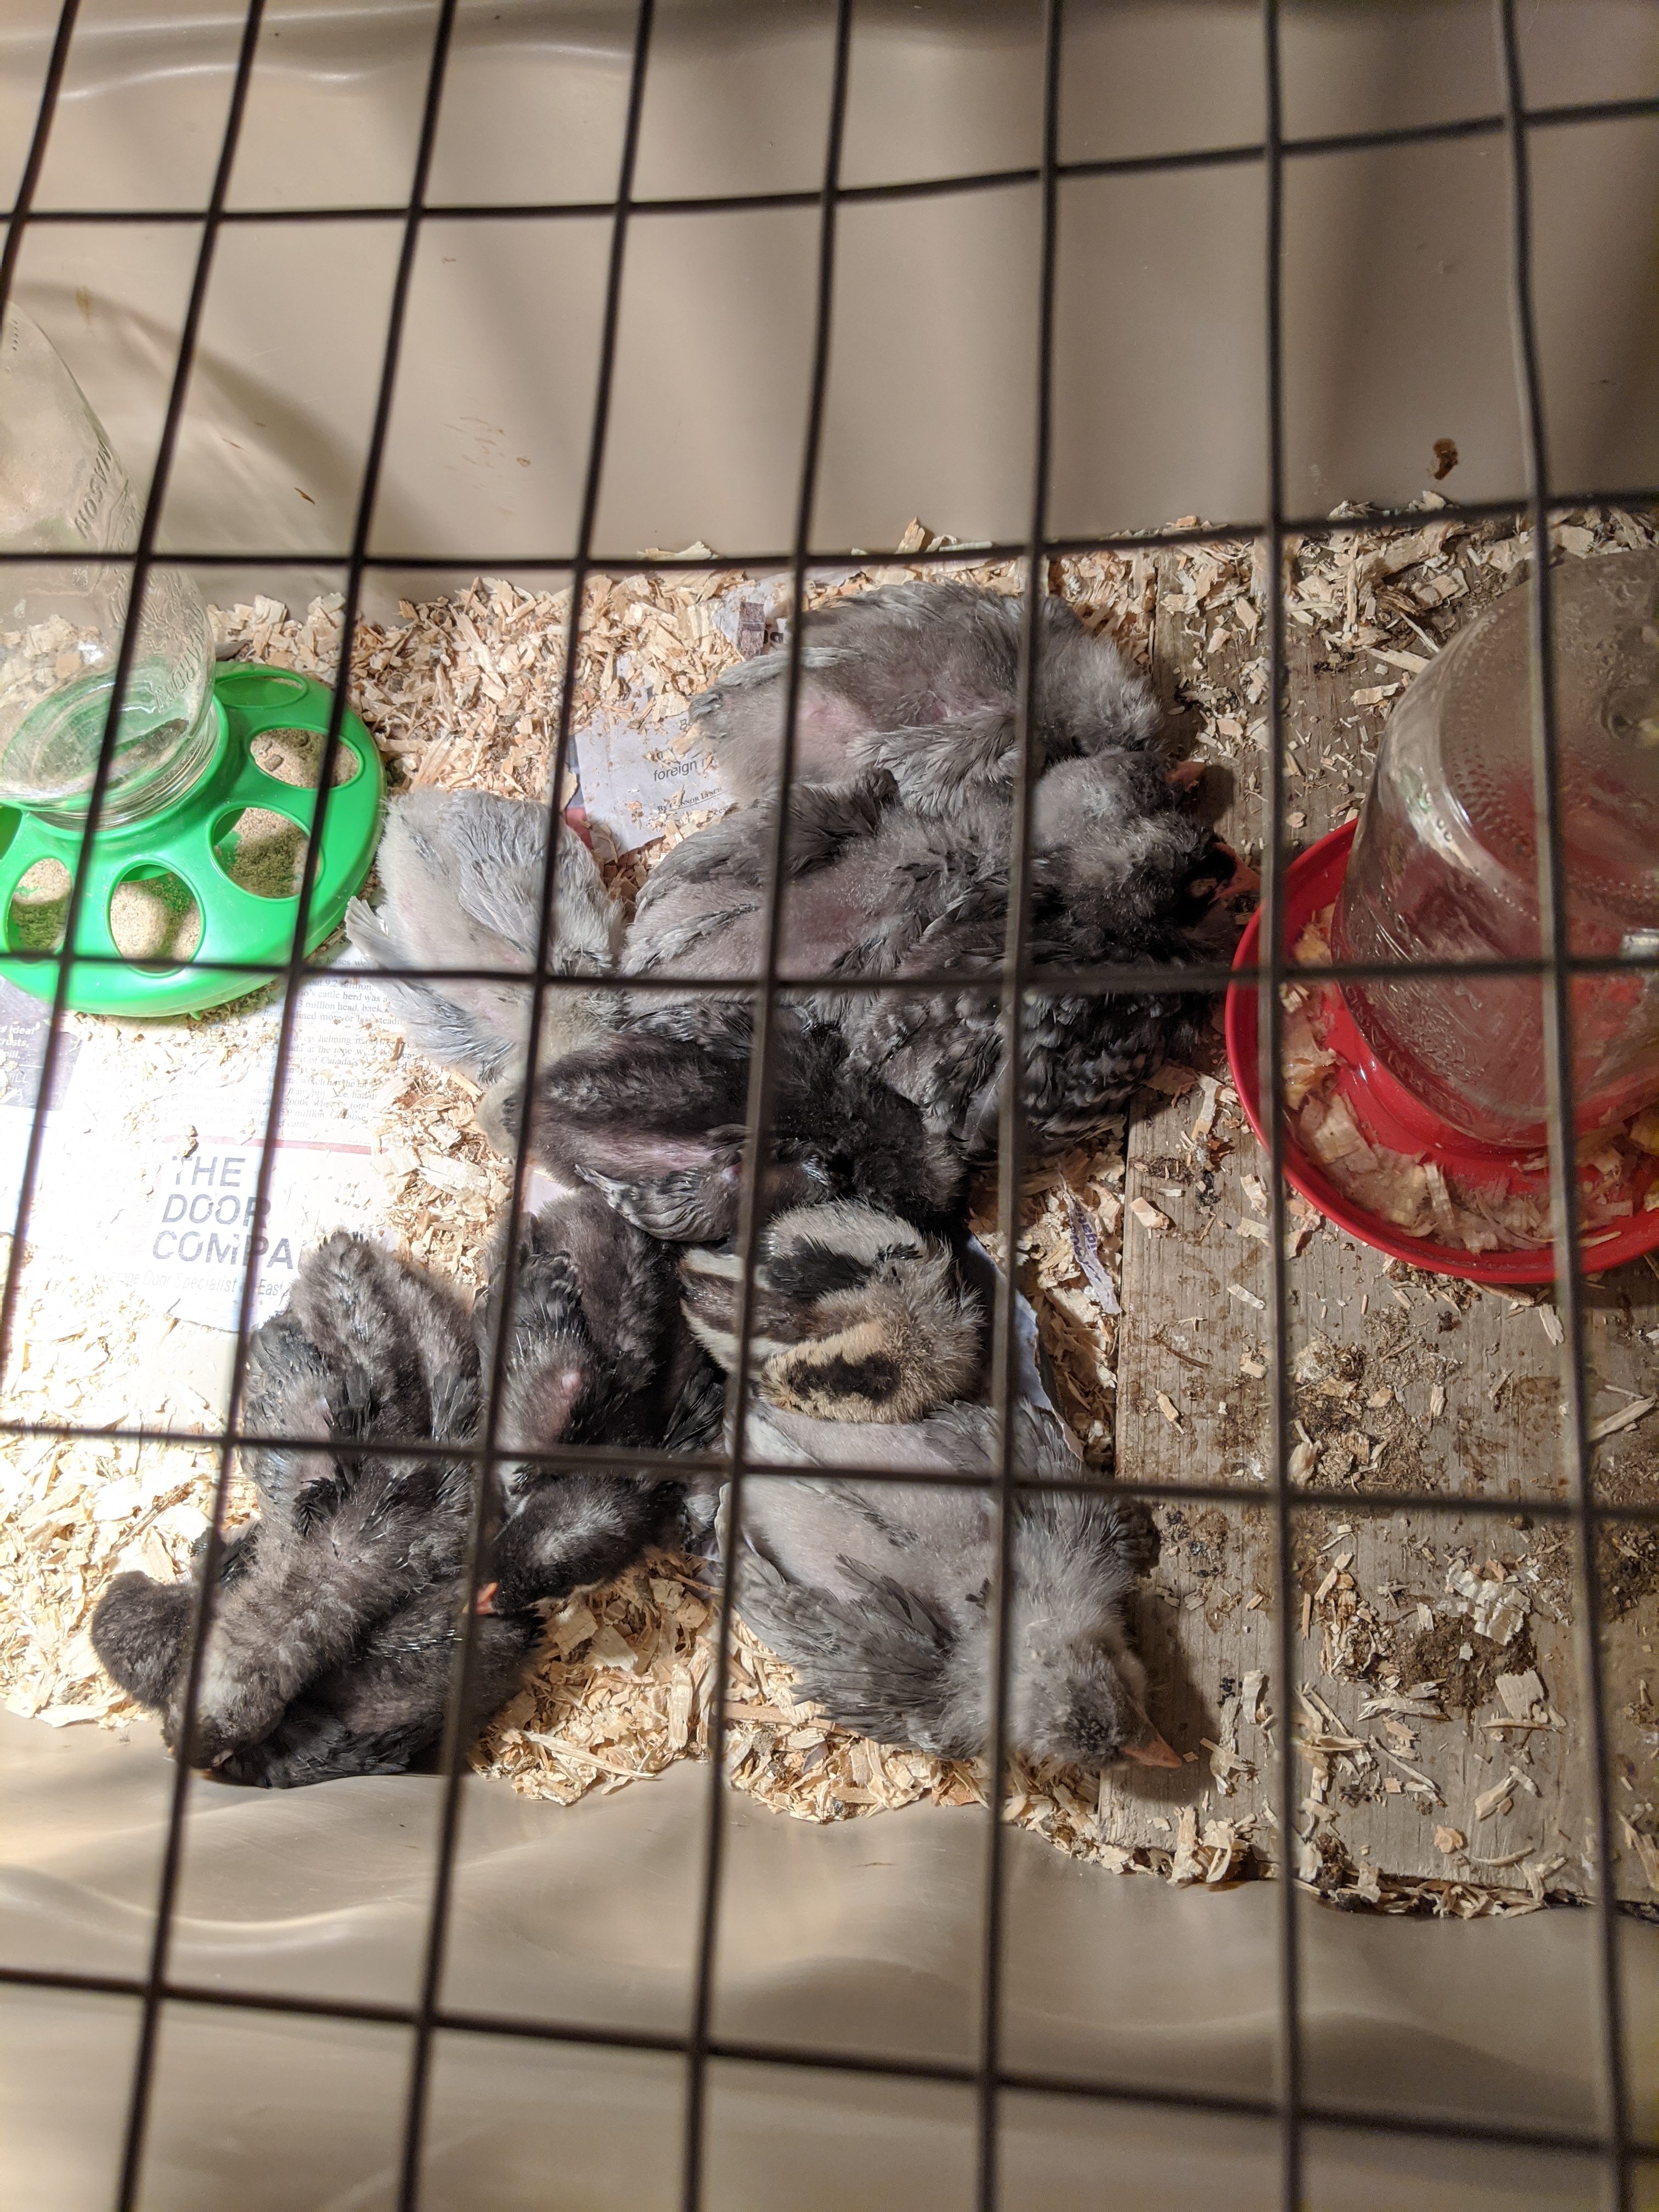
May 22
The eggs were now 18 days old and needed to go into “Lockdown”. This involved removing all the eggs from the incubator, candling them again to confirm they were growing some/still alive, removing the egg turner, and placing them inside the incubator to rest in one place until they hatched. We put an additional small homemade wooden pallet with a plastic non skid mat on top to help hold the eggs in place and prevent the new chicks from leg splay when they hatched. Overall we lost about another 3-4 eggs at this point. From now onwards until hatching we kept the humidity higher, around 70%.
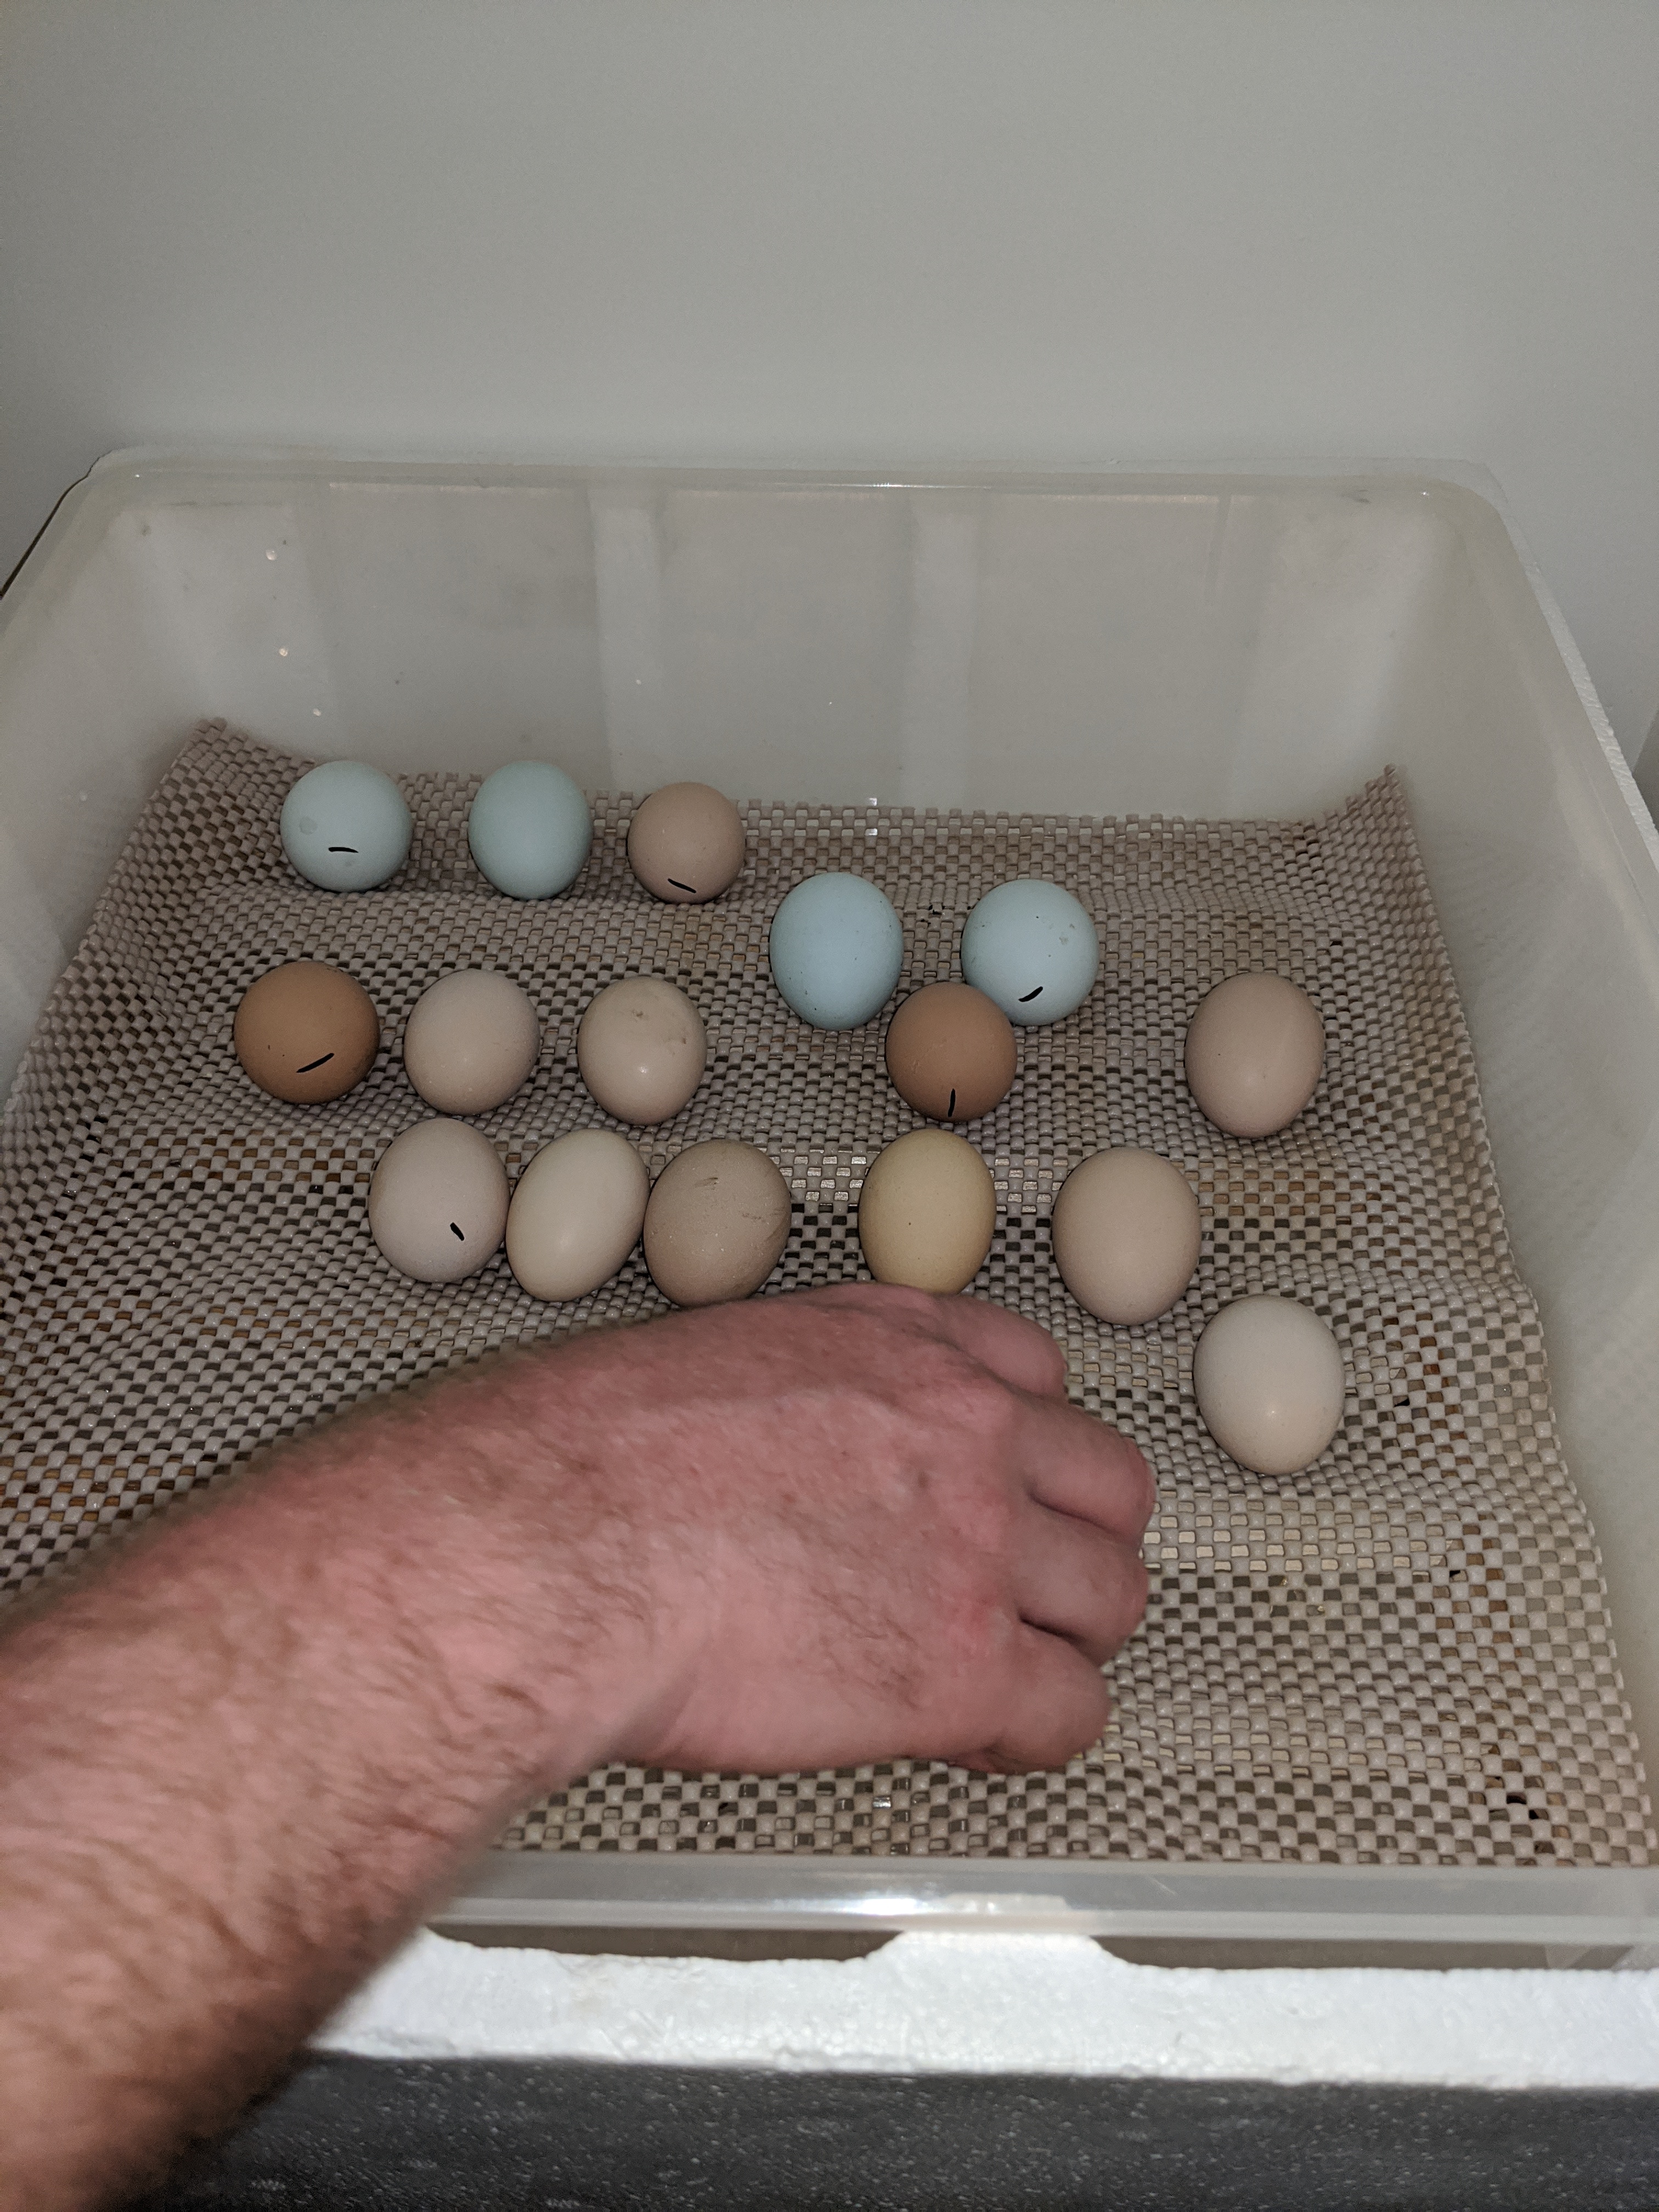
I regret not putting the eggs into a more tilted position, the pointy egg should have stilll been down and the rounded end should have been up, I think this may have been the source of some additional losses.
I also regret not marking the air sack in the egg so I could monitor progress and have a better idea of what or why something went wrong. An air sack that is too small or big can be an indicator of improper humidity levels. If I had know where the air sack was I may have been able to assist some chicks during hatching (overall not recommended though)
May 24
One day early on day 20 (hatching is normally 21 days) I woke up to find a chick had just hatched. Throughout the day 9 more hatched. They were a fairly even mix of chicks from all suppliers, a few lavender Orpingtons, a couple cuckoo Orpingtons, one of the green eggs, and one Mottled Orpington. The early hatch may have been an indication that in general my incubator may have been running too hot.
May 25
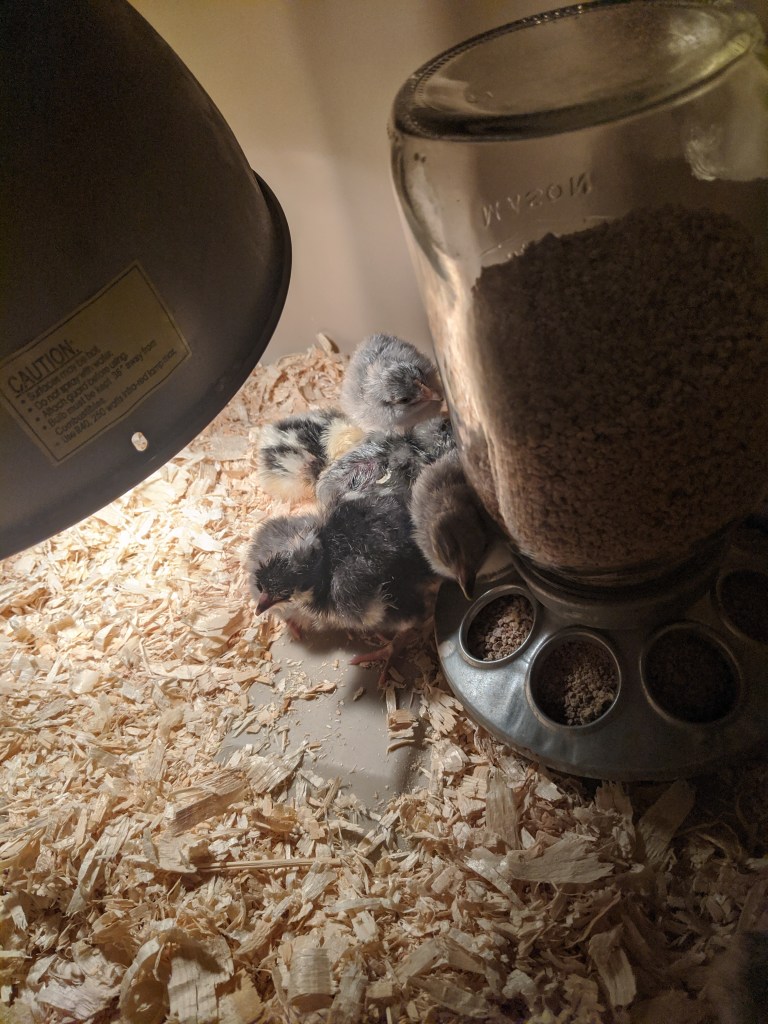
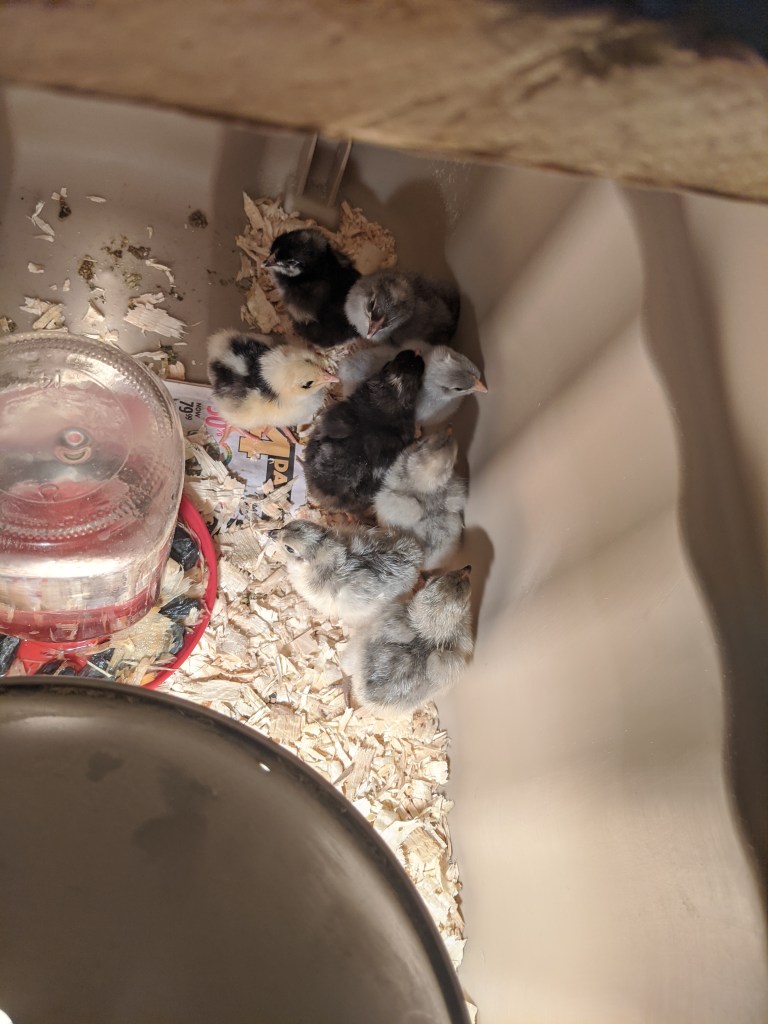
We moved the chicks that had hatched the day before into a set up brooder with a heat lamp and had an additional 4 chicks hatch as well as 2 more make pips (start to break out). Unfortunately we lost one lavender Orpington from the day before and the two that made pips were unable to finish hatching and passed away in the shell the next day.
May 28
We kept the incubator going for a few more days to see if any more would hatch but unfortunately nothing else did. In the end we got 15 chicks from 48 eggs, 2 passed away in the shell without fully hatching and 1 passed away the day after it hatched. The remaining 12 chicks were an even mix from our three suppliers so we know the incubator itself was the issue. I did an autopsy of 3 of the remaining 23 unhatched eggs and found that 1 was only partly developed (possibly 10 days or so), 1 was fully developed but seemed to be in a poor position to hatch (beak far from the air pocket and trapped under its wing), and the third was fully developed and in perfect position to hatch but just didn’t.
Lessons learned for next time
- Pre-warm the incubator a day before putting any eggs in it
- Keep the styrofoam base on and make sure it is lined up with the vent hole on one side
- Use a backup thermometer and hygrometer inside as the one with the unit does not work reliability
- Monitor temp closely but accept that it is just a cheap incubator and cannot maintain temperature precisely (+/- 2°)
- Make sure any eggs I get are tilted every few hours until they go in the incubator
- Put the pointy end of the egg down in the egg turner
- Keep temperature around 99.5° during the whole process
- Keep humidity around 50% for the first 18 days then around 70% after lock down
- On Day 10 candle the eggs and remove unfertilized ones, use a pencil to mark the air sack
- On Day 18 candle the eggs again, remove any that are not progressing, mark the air sack, remove the egg turner and place the eggs POINTY SIDE DOWN (not on its side) on the mini wood pallet with the non skid mat on top
- Once eggs start hatching the humidity will naturally go up, don’t add water unless it drops below 65%. Too much humidity during hatching can drown the chick
- If a chick has pipped (made a small hole but nothing else) consider assisting it only after 24 hours have passed, or not at all as it may be a weak chick with low survivability anyways
2021 Home Hatching
We got a new incubator, a Brinsea 56 Pro, which has a fantastic reputation for having a great hatch rate. It heats, tilts, and maintains the humidity levels all on its own. We also have some broody hens so we’re going to try and let one hatch out some eggs.
Feb 27 – 29 Eggs (all from our own hens) in the incubator
March 9 – Candled the eggs (Day 10 of incubation) 3 were removed for not developing. I opened all 3 and found the tell-tale while bullseye to prove they were fertile. They likely got too cold and froze at some point before they were collected as there was a few days that were -20°C when I was gathering hatching eggs. 26 eggs showed signs of development
March 1 – 7 eggs under the broody Hen
Meat Birds
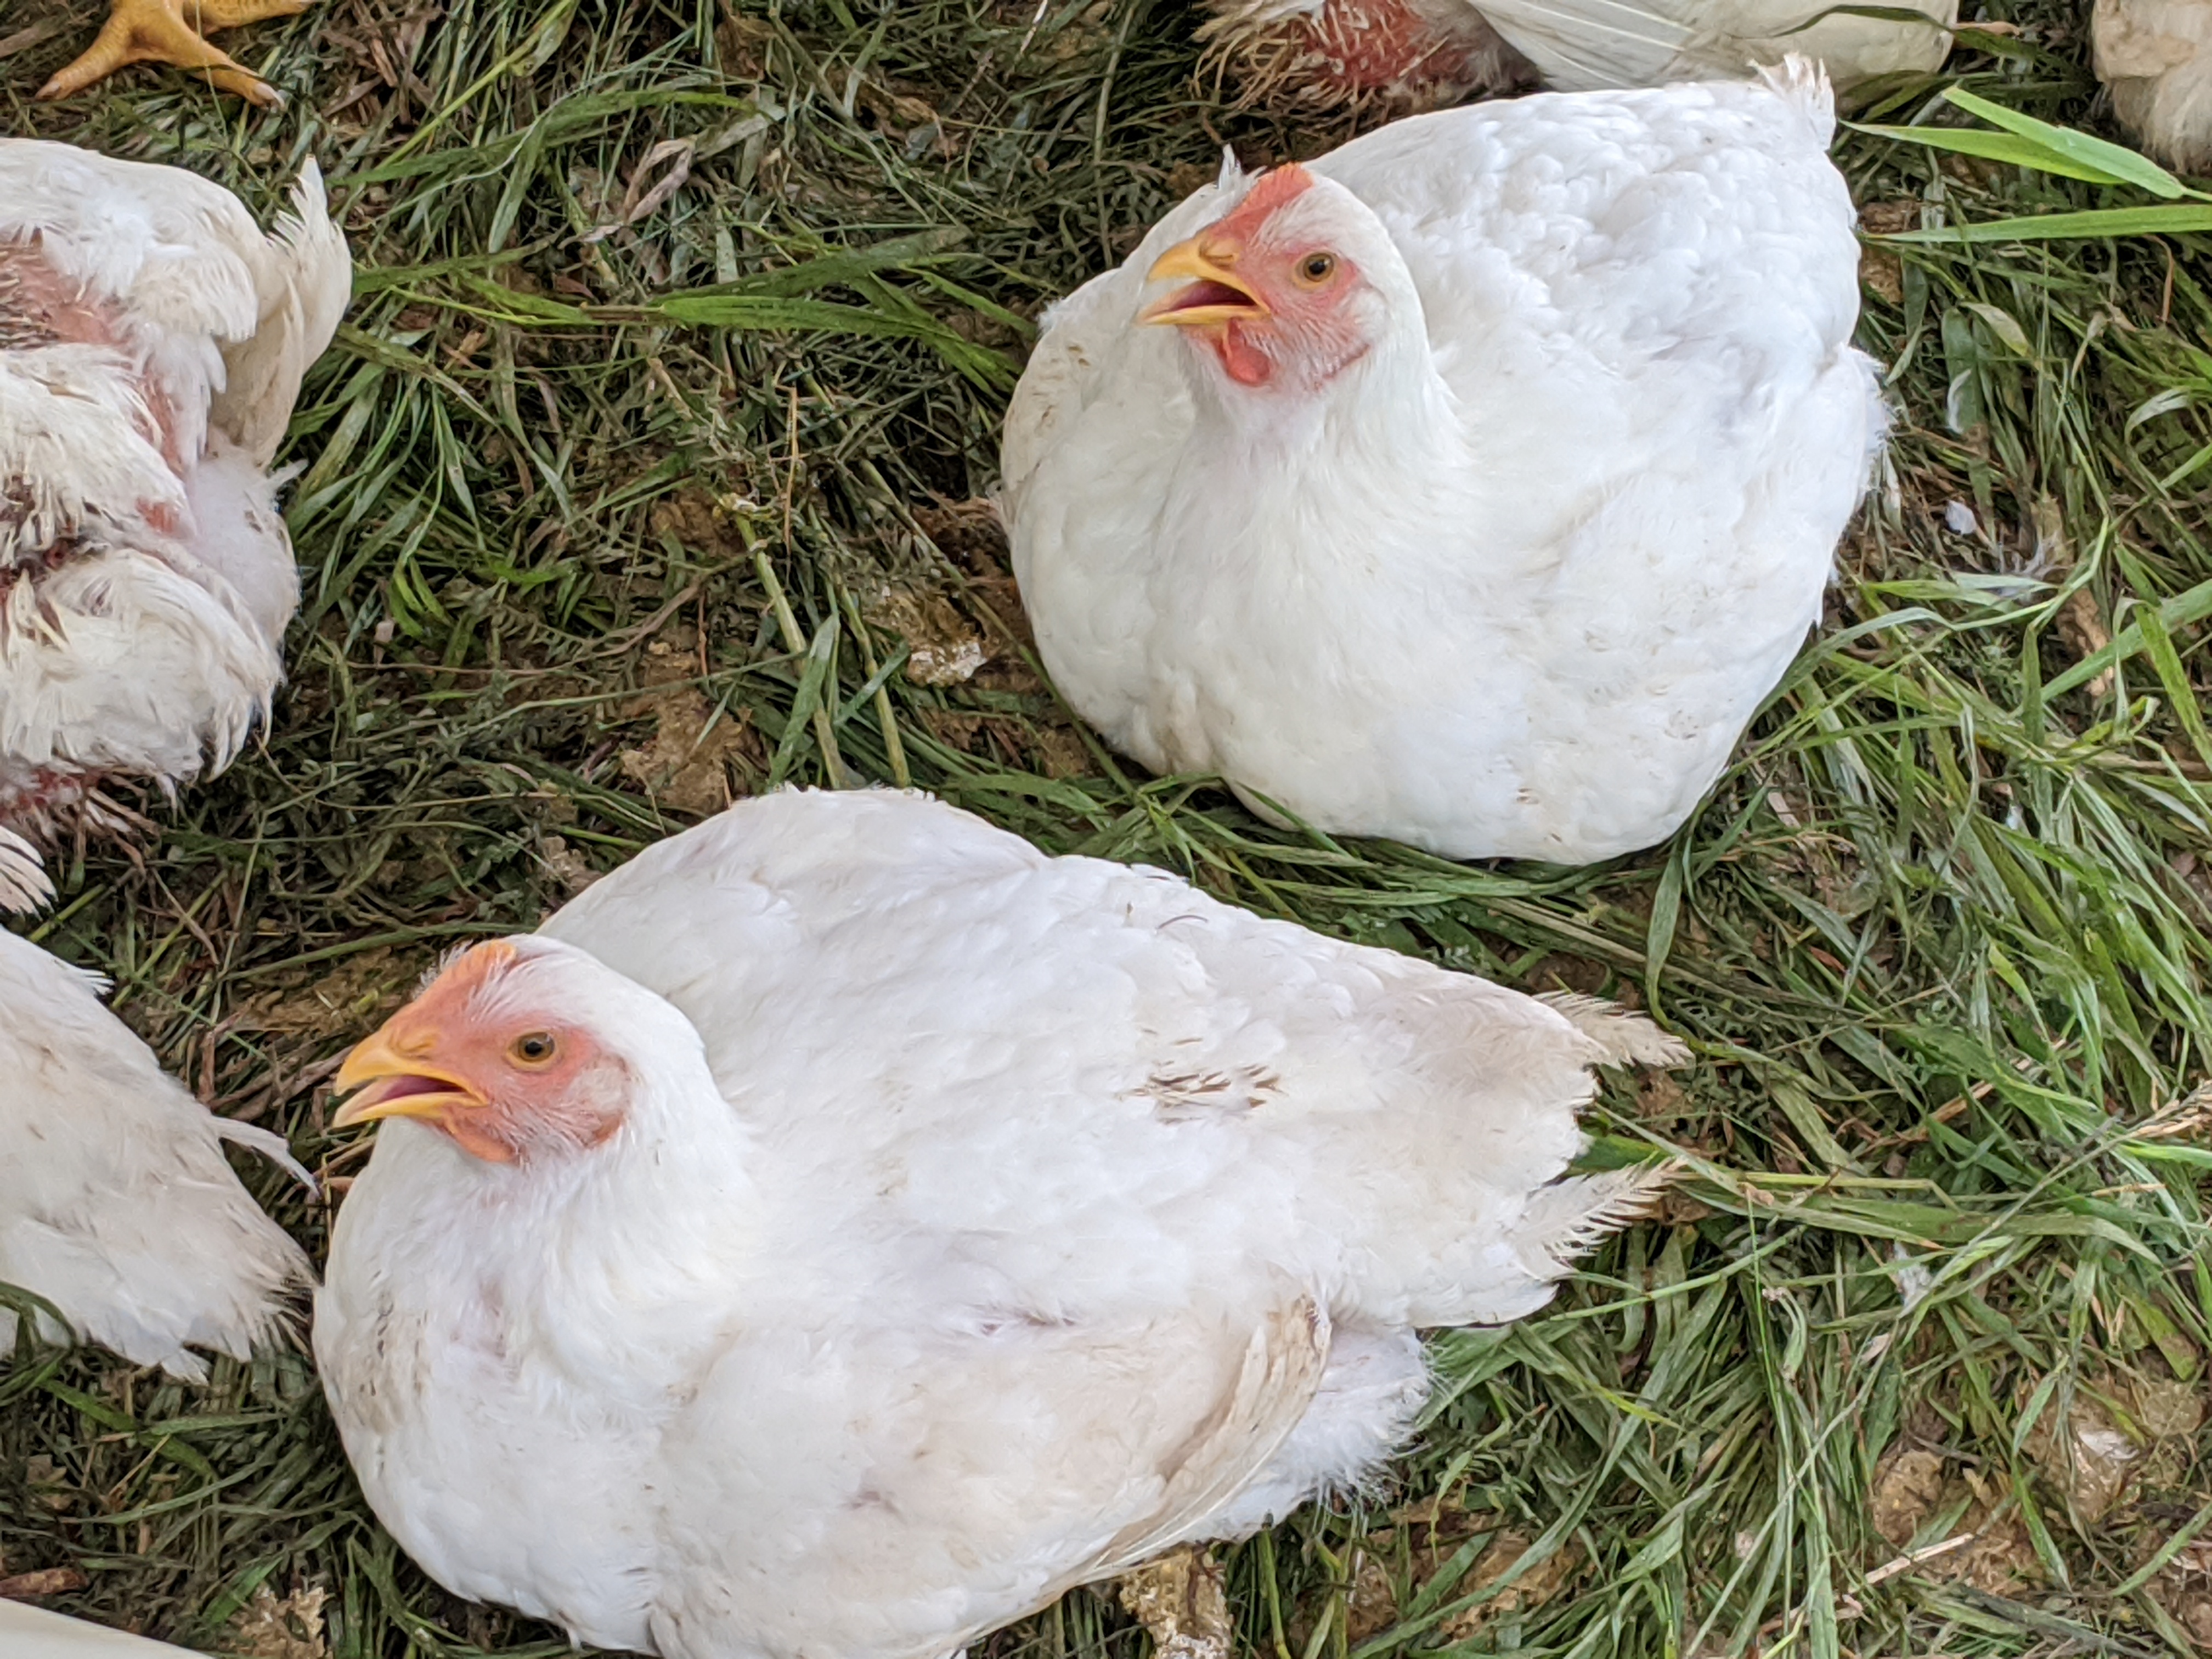
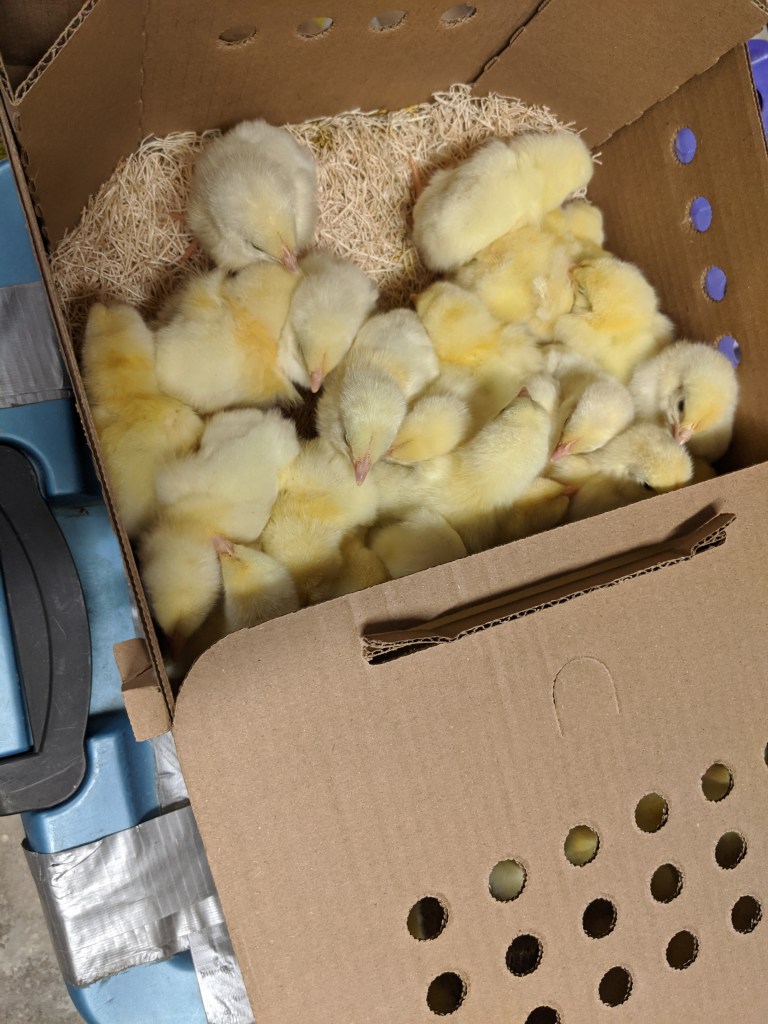
We ordered 50 Broiler chicks (1 day olds) from a local animal feed mill. We received 53 on May 13, 2020. One of the chicks passed away the day after we got them. Another chicken was a runt and attacked by other chickens while in the tractor. A third chicken had bumble foot around 6/7 weeks old so we processed it ourselves. We sent 50 chickens to a local Abattoir when they were 9 weeks old to be processed on July 15, 2020.
June 7, 2020
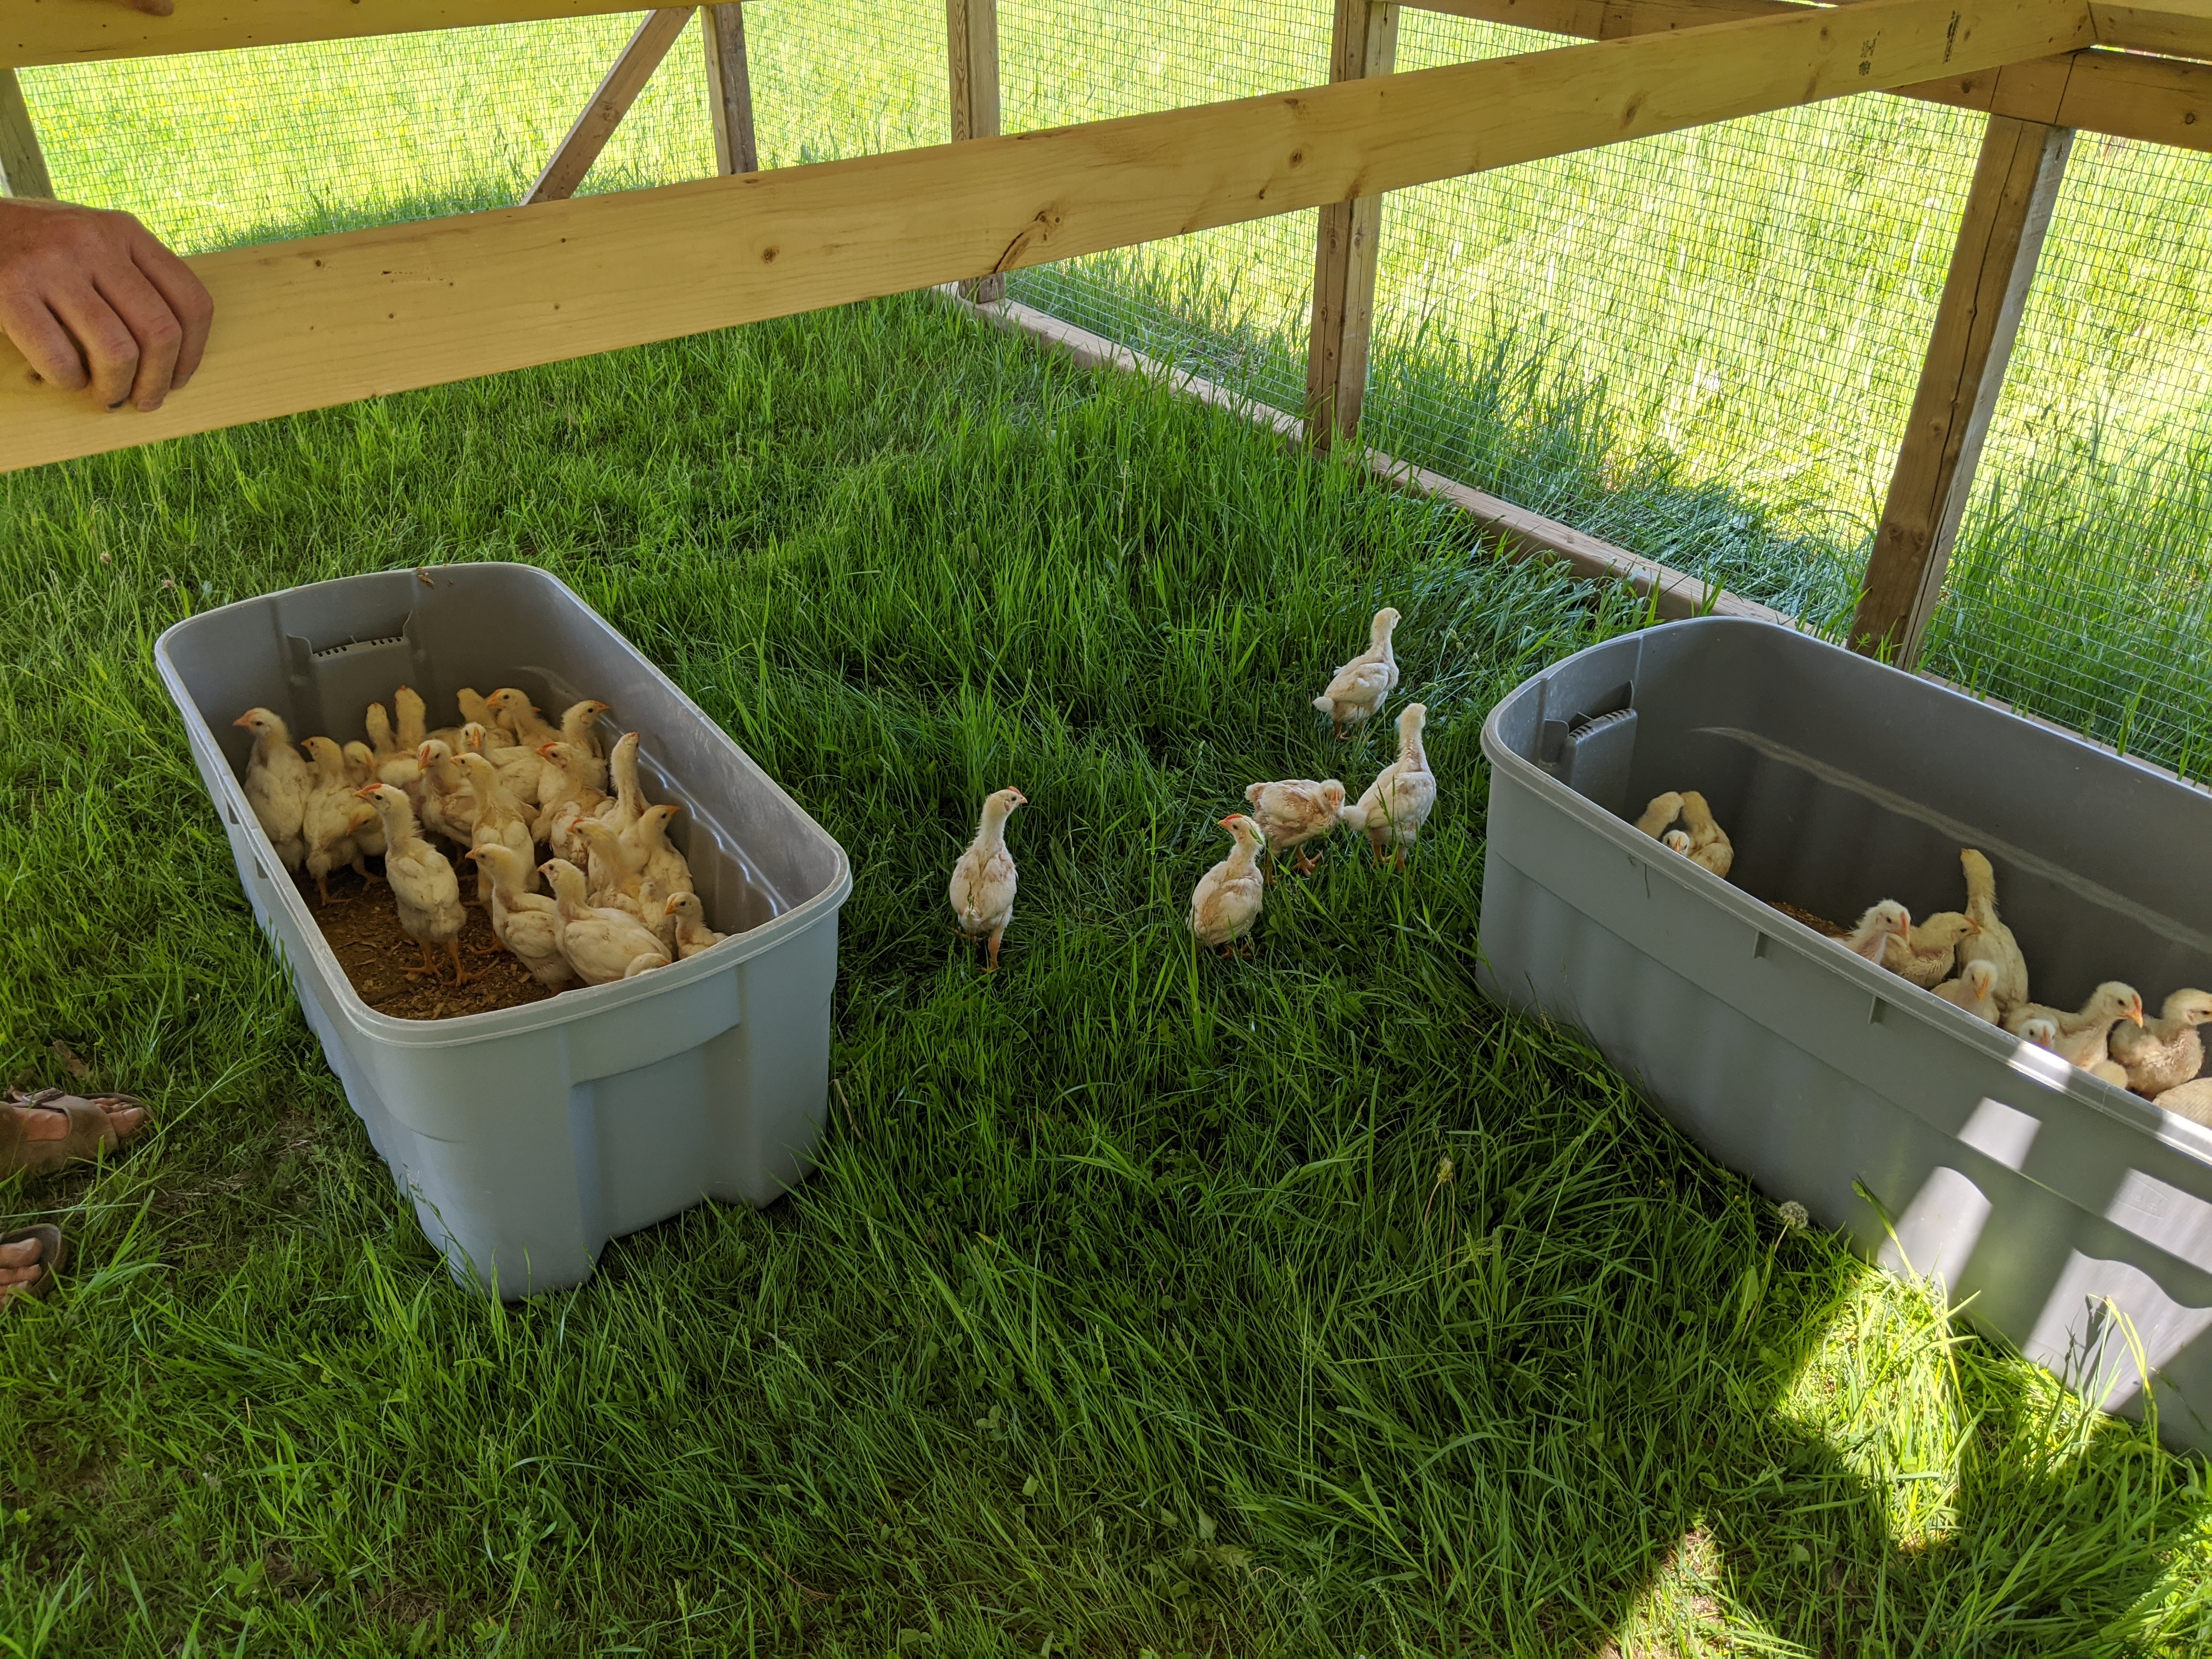
The chicks were kept in two brooders for the first few weeks. Originally we kept them in our basement but after a week or two moved them out to the workshop. Their little waterers had pebbles for the first couple weeks to make sure they didn’t get too wet or drown. It was much better having them in the workshop as the smell from the basement made us sick, I wouldn’t keep chickens in the house again. The timing of when we got the chicks (mid-May) turned out to be very good as the weather was fair enough by early June to put the chicks outside in our newly built chicken tractor. They had food, water, fresh grass to forage in, and a heat lamp for the first week while they adjusted to being outside. (Any night that was 15° or less we had the heat lamp on, only needed it for the first couple weeks). Once the chicks were outside they started to grow very quickly. They didn’t eat as much of the feed we provided as we expected and seemed to forage a lot. We moved the chicken tractor every few days at the beginning and almost every day by the end to make sure they were on fresh grass.
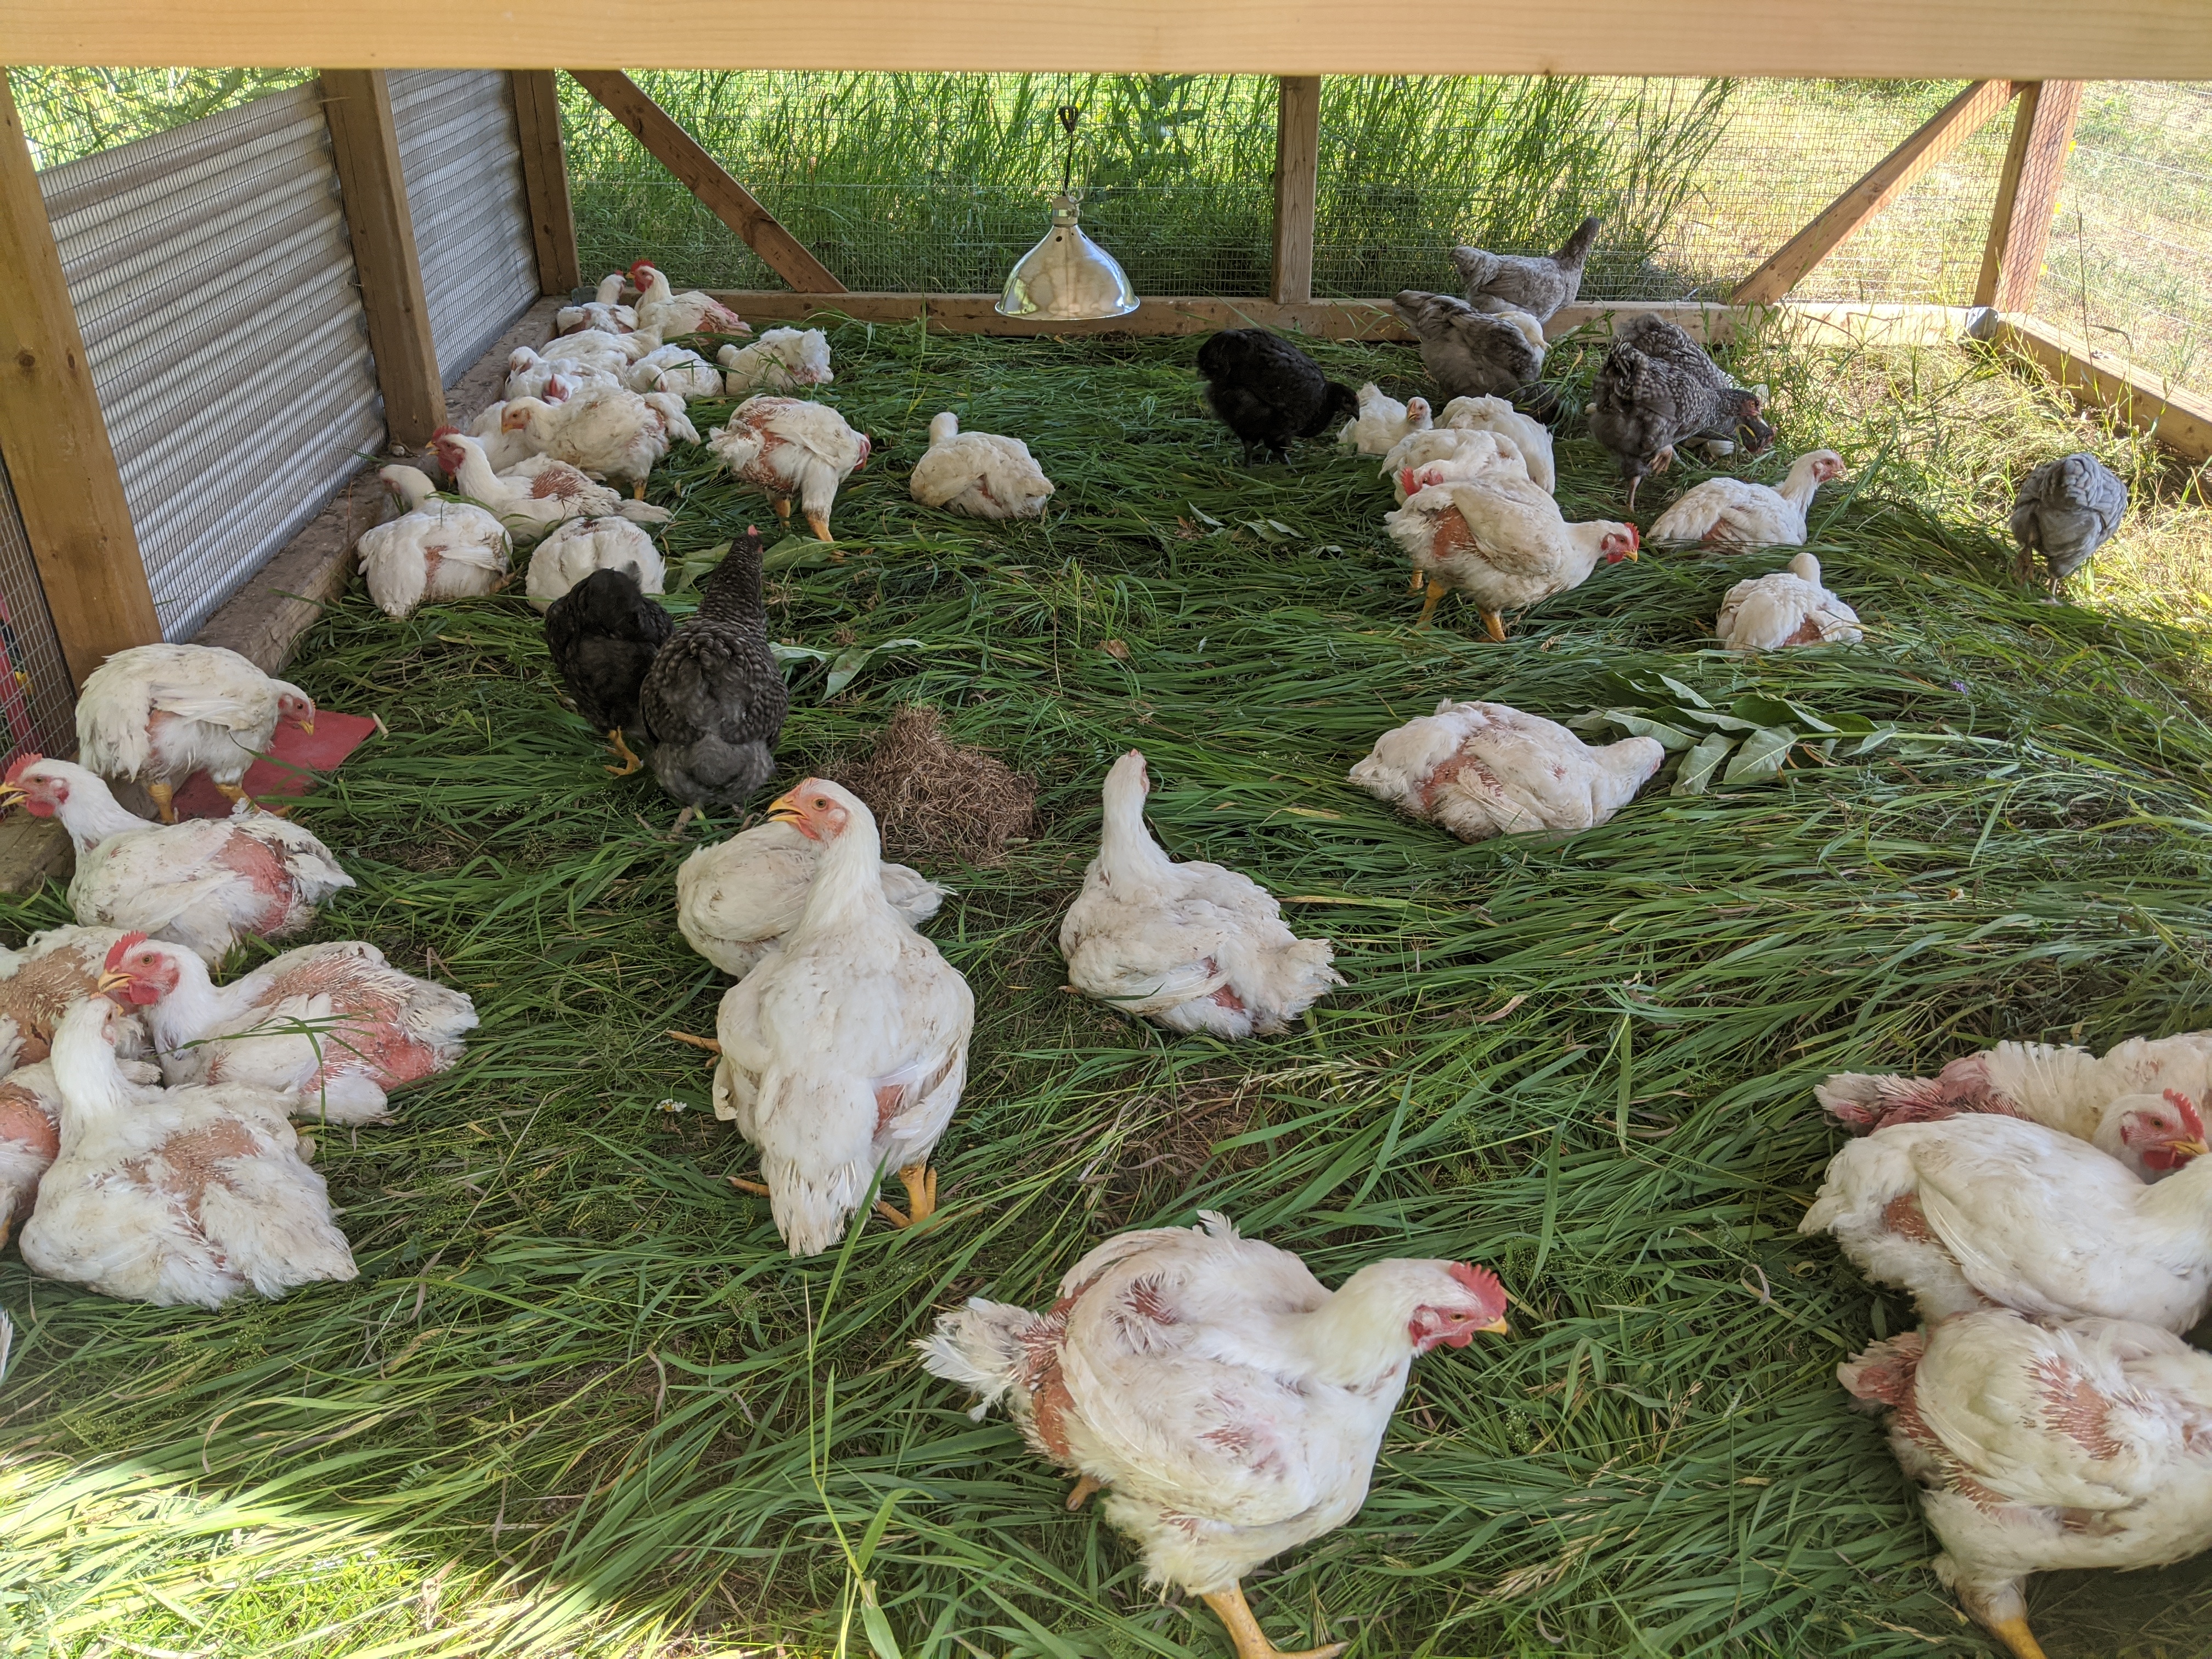
We put our laying chickens (Orpingtons) in with the broilers to help encourage them to get up and walk around. This was to ensure they stayed healthy enough that their organs wouldn’t fail as broilers have a tendency to be lazy which causes heart attacks and premature death. It did help the broilers get up and move more but as they got older we found that the Orpington cockerels were picking out the broilers feathers. By the time the broilers were 8 weeks old (and the Orpingtons were about 10 weeks) we were able to tell which were cockerels and removed them from the chicken tractor. Over the final week we saw quite a few of the broilers feathers grow back. The female broilers were smaller then the male broilers but also more active. Having some female broilers helped encourage the males to be more active also.
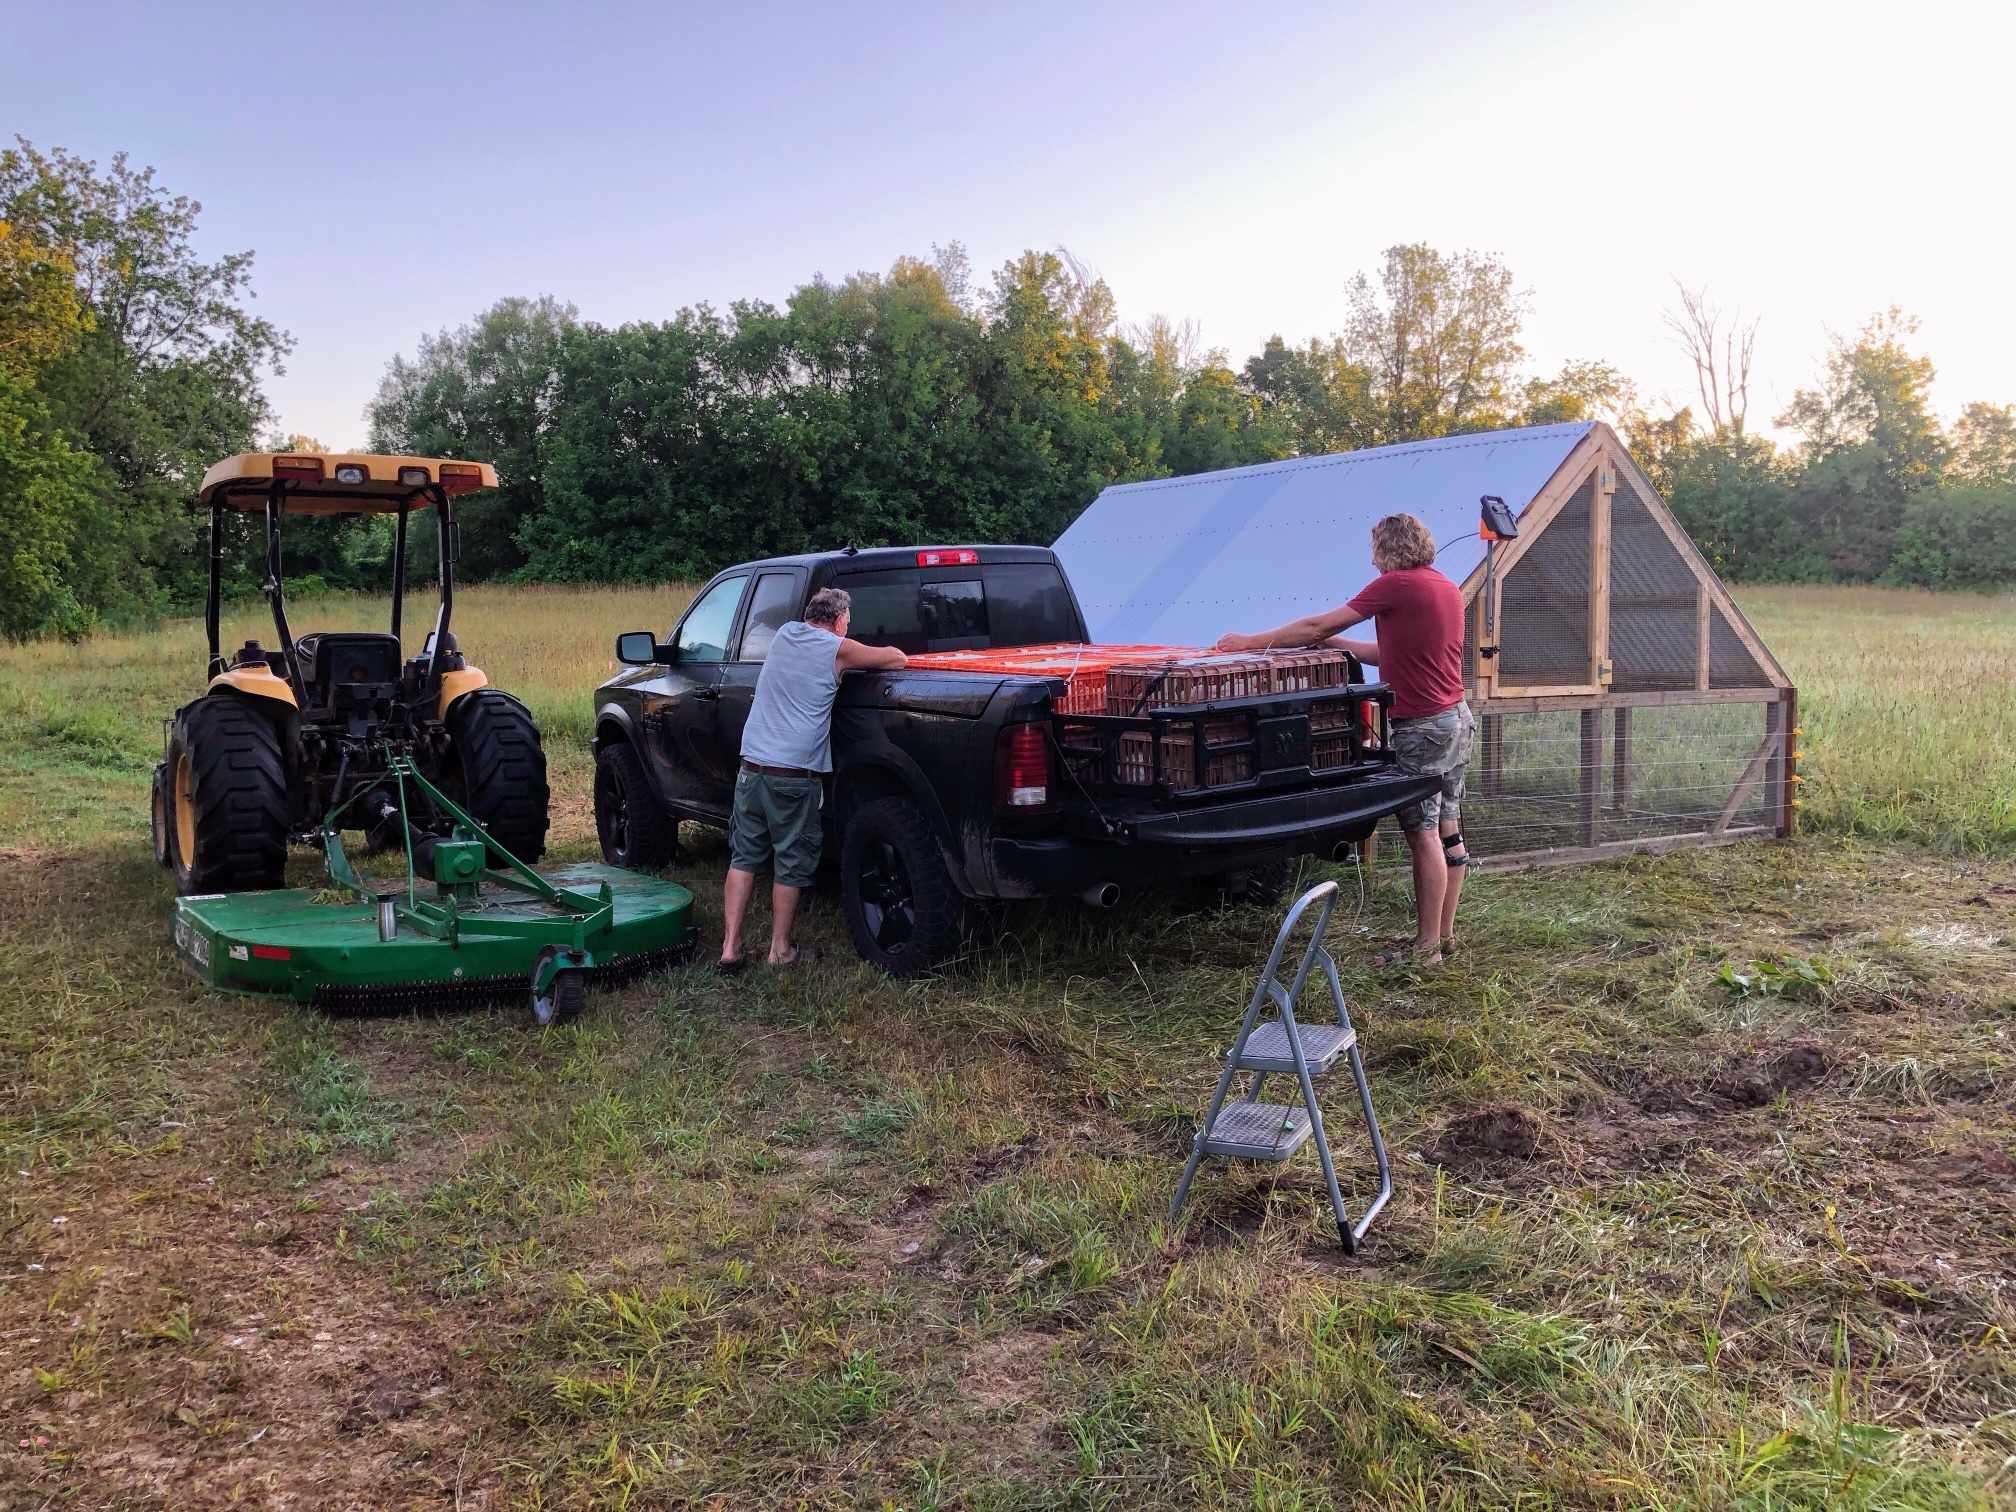
July 15, 2020
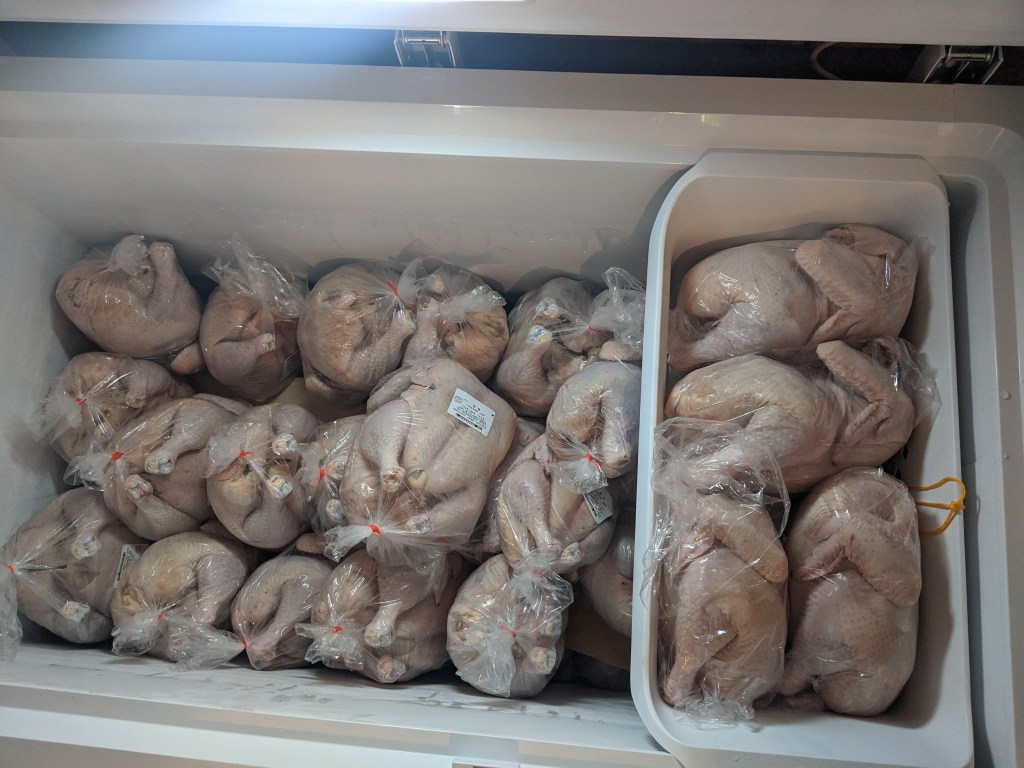
Loading up the broilers into cages to bring them to the abattoir. The cages are rated for 10 birds but we only put 5 birds per cage. Our truck could comfortably fit 10 cages, any more then that we would have had to use the trailer. We started getting them into the cages around 5:30 and headed out by 6. We were in the lineup at the abattoir at 6:40 and finally dropped them off by 8:40. Picked up the processed and bagged chickens at 15:00 and put them all in the freezer. All in all we ended up with 305.2lbs of pasture raised organic fed chicken.
Lessons learned for next time
- Mid-may is a good time to get meat chicks as the weather is nice enough to have them on pasture most their life
- Book the abattoir as early as possible, before receiving the chicks
- Buy a mix of male (70%) and female (30%) broilers, males end up being A LOT larger and all birds cost the same to process ($5.25) no matter the size
- Don’t keep roosters or cockrells with broilers as they’ll pick their feathers out
- Keeping some laying pullets with broilers helped ensure they moved around
- Keep an electrolyte powder on hand to add to the chicken water on hot days
- Buy a couple extra chicks as it is normal to loose some
- Don’t try and keep the broilers past 9 weeks, processing at 8-9 weeks would be good
- Our chicken tractor can comfortably hold 50 full sized broilers
- Use electric fencing on a chicken tractor, we heard it scare off a predator more then once on the night by the howls/yips from the area
- Wrangling chickens into boxes and onto the truck is at least a two person job
- When moving the chicken tractor try and have a second person to help also, especially if it is being towed back rather then pushed ahead
- Don’t forget to bring “Form 300” to the abattoir, better yet as soon as you get it with the chicks put the paper in the truck glove box so it isn’t misplaced over the next few weeks
- Chickens on pasture don’t need as much feed as recommended as they forage for some of their food
- Watch the protein amount in the chicken feed, too high can cause premature death
- 25 chicks can fit in our brooders comfortably for the first 3 weeks, after that they either need to go into the chicken tractor or spaced out between more brooders (15 per brooder possibly?)
Turkeys
https://www.allrecipes.com/recipe/229989/turkey-breakfast-sausage/
This recipe was quite nice but for our taste we would do a few things differently next time. Cut the amount of sugar and salt. We didn’t add the pepper flakes or thyme but we did add 2 tsp of garlic powder which was nice and we’d do again.
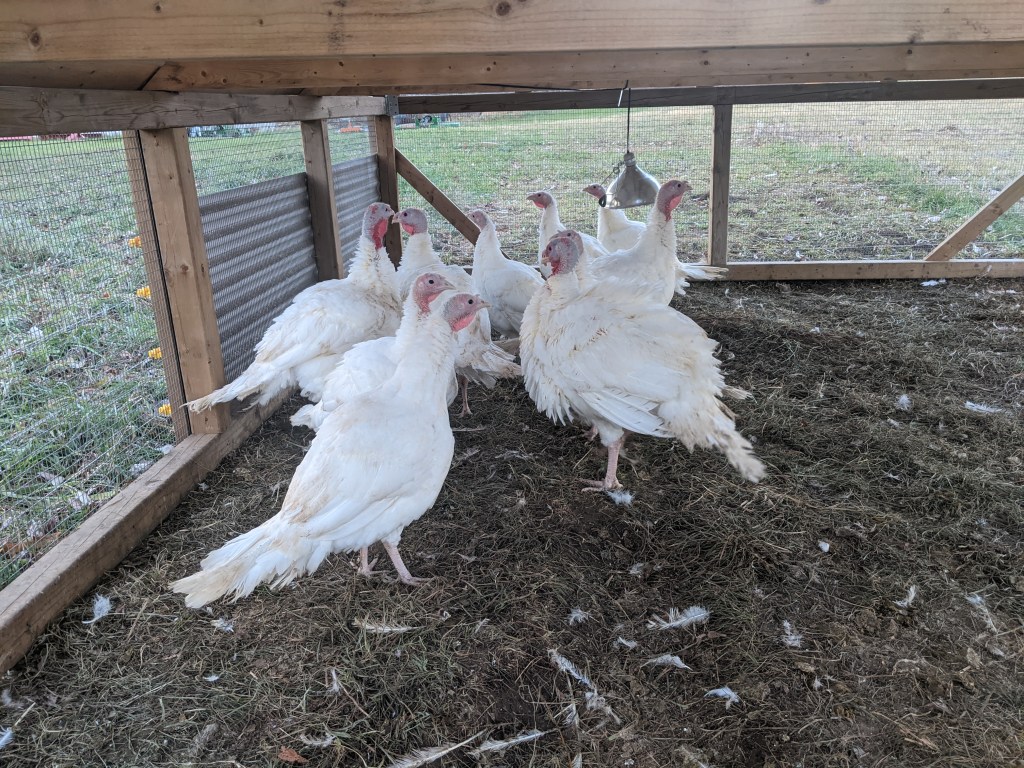
We got our poults from Frey’s hatchery on August 12 2020 and processed them on Nov 6 so they were a bit over 14 weeks old. Their weights were a bit above the Frey’s guide, overall for both the turkey and chicken the Frey guide has been very accurate. We fed them Embrum co-op food which was about 21-23% protein. This co-op is local and we bought it from the Fence

